So you’re heading to Iceland? Lucky you, Iceland is a photographer’s paradise. With the otherworldly landscapes, it almost seems too easy to take a good picture in the land of fire and ice. However, the difference between good photos and great photos is usually in the details. In this guide, I’ll show you the tips for taking epic travel photos of Iceland!
Recommended Gear:
- A DSLR camera or a camera with Manual Controls
- Lightweight & Sturdy Travel Tripod
- Polarizing Filter for each of your landscapes lenses
- Neutral density filter kit
- A drone would be epic, I have the DJI Phantom 3 professional and the DJI Mavic. Make sure to bring ND filters for the drones.
Photography Tips for Iceland
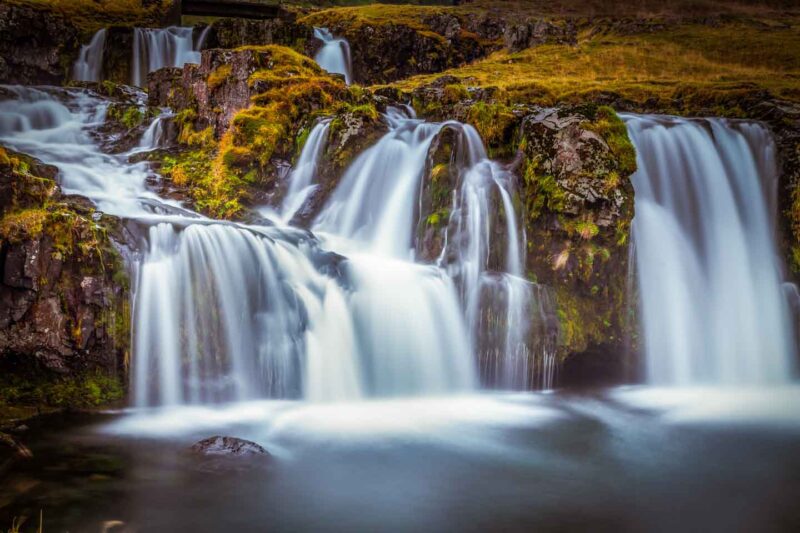
Bring an ND filter
So you wanna catch one of those really cool wispy waterfall shots? How do they do that? Well, it’s done with an ND or Neutral Density filter. Think of it like really dark sunglasses for your camera. The filter reduces the amount of light that is seen by the camera allowing you to take slower shutter speed photos and blur the water. With all the stunning waterfalls Iceland has you’re going to want one of these. Don’t forget the tripod too, you’ll need it for this and a few other techniques.
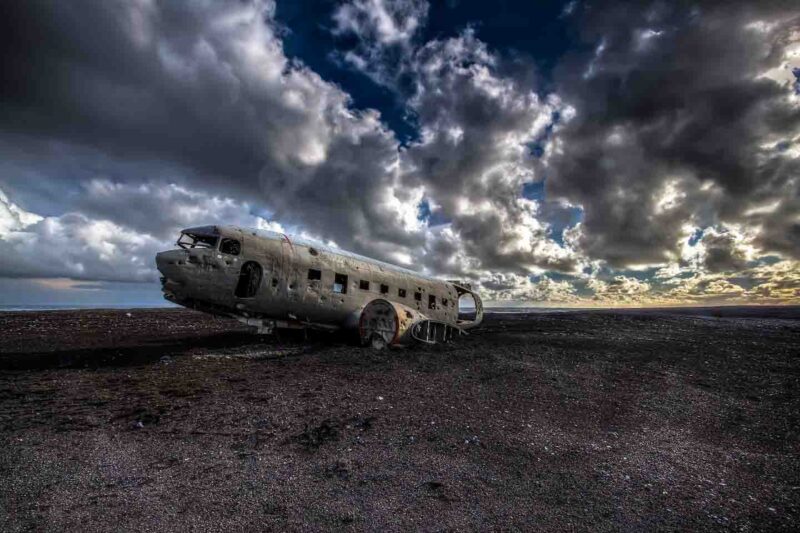
Go Further
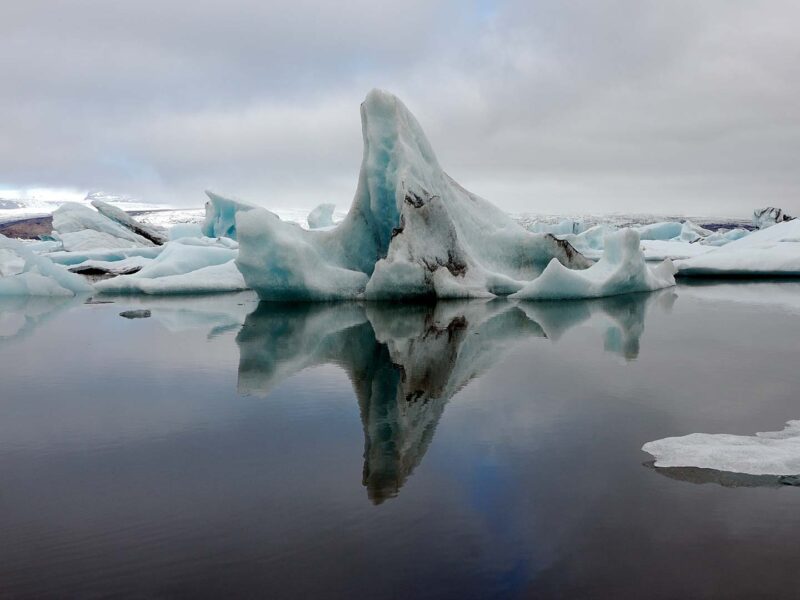
As Iceland gains popularity to get the next epic shot you’ve got to venture a bit further. As epic as the abandoned plane is near Solheimasandur was with the first picture, it becomes less so with everyone since. Don’t get me wrong you should still visit, but don’t expect to blow your photographer friends away with a shot of it. Explore further, for some truly epic shots venture to the glaciers in Iceland. Stay until sunset and blend fire with ice for a shot that will only ever happen once.
Shoot in RAW
I am a firm believer that if you truly care about your photos you should always shoot in RAW mode. If in case you’re not familiar with what RAW mode is, it’s the full uncompressed unedited picture, the actual image that your camera sensor sees. This file has much more information a is much better to edit in programs like Lightroom and Photoshop. I suggest a good Nikon D750 camera.
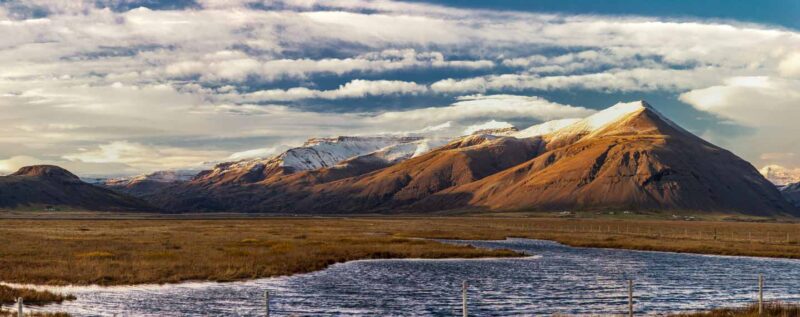
Pack polarizing Filter
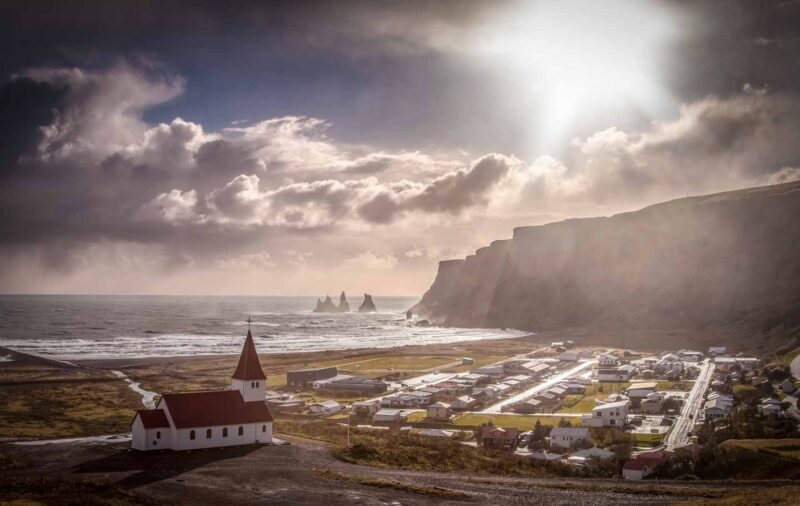
Iceland is full of wide open landscapes with rugged volcanic mountains surrounded often by ominous clouds. A polarizing filter can bring out a lot of detail and clarity in scenes like this. Much like polarizing sunglasses, the polarizing filter reduces glare and reflections making images crisper and cleaner.
Stay up late
No matter the time of the year the low levels of light pollution make Iceland a great place to shoot the stars. Keep an eye out for a clear night so clouds don’t interrupt your photo shoot. If you plan your visit around seeing the northern lights Iceland is one of the top places in the world to see the phenomenon. However, keep in mind the solar activity that creates the aurora is in a bit of a slump for the next few years. To increase your chances of spotting & Photographing the Northern Lights with a longer stay in Iceland.
Go Wide
Be sure to have your wide angle lens in your camera bag before jumping on the plane to Iceland. The landscapes in the country are huge and dramatic, don’t miss any of the details with the widest lens (lowest mm or shortest focal length). Your widest lens still not wide enough? If you want even wide than your widest lens then try a panorama shot. No, I am not telling you to take out your iPhone and twirl around, although the concept is similar.
Any camera with a little bit of software help can take a panoramic photo. This can be done either handheld or on a tripod, the latter will give you more reliable results but takes an extra few minutes to setup, so save it for the really important ones. Whether you’re on a tripod or not set up your camera in the vertical position. A panorama is already going to be wide and kinda short, so add a little height by shooting in the vertical position. Next, find the most important part of your photo and set your exposure based on that, preferably in manual mode (it makes things easier later). The start at either the left or right side of the scene and take pictures making sure to overlap by about 30% until you’ve reached the other end of your scene. When you’re back home, throw the series into photoshop’s “Photomerge” and see your scene come to life.
Pack extra batteries
Iceland as its name indicates is at times very cold. Your camera batteries don’t like the cold. Due to the chemistry of the batteries, each charge will get you far less shutter clicks than in warmer temps. With a place as photogenic as Iceland, you don’t want to miss a shot because of a dead battery.
Practice your HDR
HDR or High Dynamic Range is a great technique to use especially when taking landscape shots in Iceland. The human eye can see a much greater range of light than even most modern cameras. HDR techniques can get your shots looking close to what your eye actually sees. Some cameras have a feature built into the camera that can be utilized, but the best way to do it is manually. To start with HDR it’s best to set your camera to “AP” (Aperture Priority). Meaning you tell the camera what aperture you want and it sets the rest. For landscapes, F8-F11 is usually good, or lower if you are hand holding. Most cameras have what is called bracketing. This is where the camera takes the first picture at the calculated exposure, and then one at two stops darker, and the one last one at two stops brighter. These 3 shots are then blended in a photo editing software to brighten the dark areas and bright down the bright areas of the photo.
Get more layers in your photos
As magical as the mountains are in Iceland, if you just take a photo of a mountain it could easily be anywhere in the world. Look for details that will take you right back to the place you took the photo.
Reflections are twice as good
The only thing better than an amazing Icelandic landscape is two of the in the same shot. Always be on the lookout for calm water to get a reflection shot. When staying in front of the water move around and change your angle in relationship to the water and see what effect if has on the reflection. Also, keep in mind that most reflection shots look best when the image is mirrored close to the horizontal center of the frame.
Last but not least, don’t forget composition
This should really be at the top of the list because it is one of the first things you should consider before ever pressing the shutter. However, the same rules apply here in Iceland that they do everywhere in the world. Use the rule of thirds, use leading lines to draw the viewers eyes, frame your subject whenever possible, and don’t forget to break the rules too.
If you follow a few of these tips you’ll be on your way to taking epic travel photos in Iceland. Keep researching Iceland photography tips and spots with Nat Geo’s Iceland Photos page. It’s always a good idea to see what already been shot and get ideas on how to do it differently or better.
Harry
Wednesday 2nd of August 2017
This is very helpful for my travel! Thanks for sharing.
Hannah Lukaszewicz
Saturday 5th of August 2017
Glad we could help, have a safe trip to Iceland.
Jaspreet Singh
Wednesday 24th of August 2016
very helpful tips on travel photography
Nikoline
Tuesday 16th of August 2016
Super cool tips for advances photography, will def remember the ND filter trick. :) Thanks a lot. Nikoline
Kassie
Monday 15th of August 2016
This is a cool guide! Iceland is high on my list and I am always looking for ways to improve my photography skills. The polarizing lens is definitely something I will have to look into!