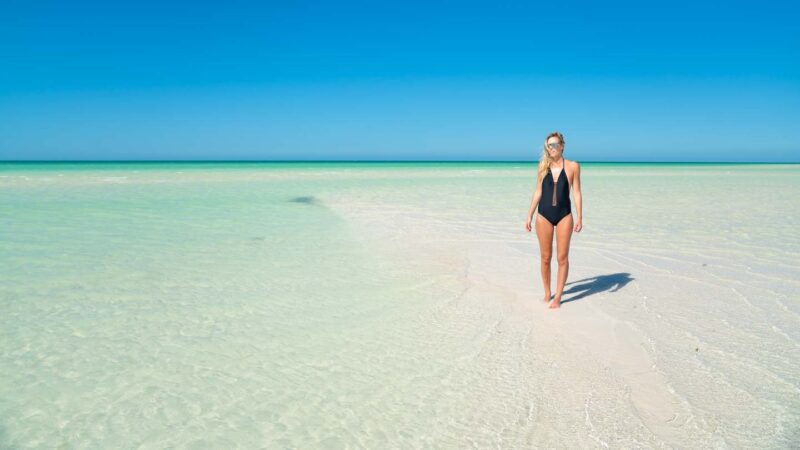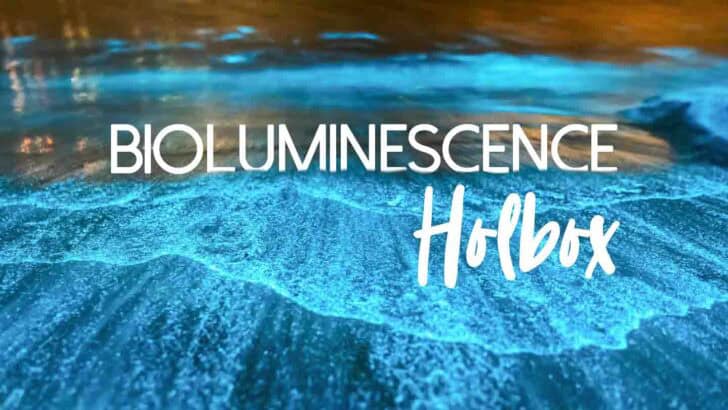
When the sun goes down, skip the nightlife and go on a Bioluminescence Holbox Tour to see the crazy blue glowing waters. This is one of the most unique things to do in Holbox and something you can’t experience just anywhere in the world.
Dive into the dark night and watch in awe as the water lights up with tiny organisms emitting a vibrant blue light. Here is everything you need to know about seeing the Bioluminescence on Holbox and the best tours.
Best Bioluminescence Holbox Tour
You will find vendors selling tours all over Holbox. We went on this tour and highly recommend it. Skip your time shopping for tours and negotiating the price.
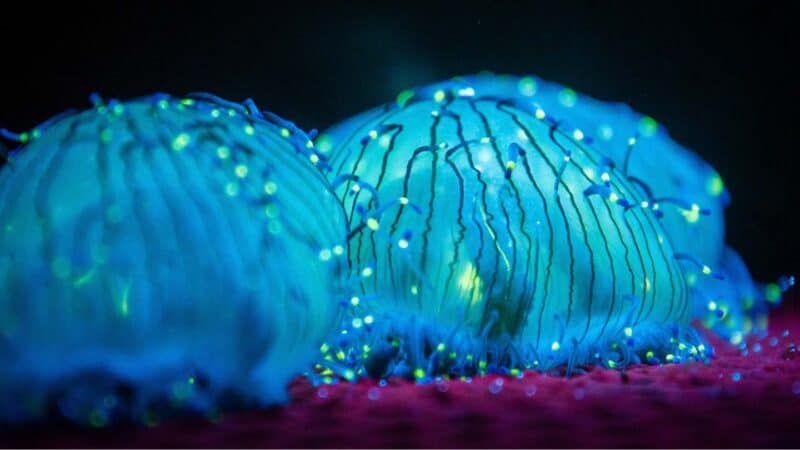
What is Bioluminescence?
Bioluminescence is a naturally occurring phenomenon where a few specific types of plankton in the water light up when exposed to oxygen.
In Isla Holbox, you can see the bioluminescence effect by agitating the water by walking through or splashing the water with your hand.
During certain times of the year, primarily summer, there is enough bioluminescence plankton in the water that the wave action can introduce enough oxygen to create the bioluminescence effect.
Best Times to See Bioluminescence in Holbox
There are two main factors when it comes to seeing the bioluminescence in Isla Holbox.
1. Time of year – bioluminescence plankton is present year-round in Isla Holbox, but the summer is the best time to see the bioluminescence because there are much larger amounts of plankton in the water. The higher quantity of plankton in the water makes the bioluminescence much easier to see.
2. Amount of light – Light pollution can really hinder your ability to see the bioluminescence. So it’s important to time your tour when it is dark enough but before the moon comes up.
Location on the island is also important. While the plankton exists all around Isla Holbox, the bioluminescence effect isn’t visible everywhere due to light pollution.
Most bioluminescence tours will go to either Punta Coco for land-based tours or Punto Mosquito for kayaking bioluminescence tours. Both are remote parts of the island where light pollution is at a minimum.
Best Bioluminescence Tours in Holbox
During our many visits to Isla Holbox, we took a few different types of Holbox bioluminescence tours, some of which were better than others. We have narrowed down our pick for the best tours.
Most popular/Best Value: Bioluminescence Experience in Holbox – This is a small group tour to see the stunning natural phenomenon of bioluminescent plankton. On this tour, you’ll be able to swim and snorkel among the glowing plankton. All gear is provided and included in the price. See Full Detail Here
Fun Kayaking Tour Experience: Magic Night of Stargazing and Bioluminescence – A night to remember with kayaking and swimming through waves of bioluminescence in Isla Holbox. Learn more about this tour
Best Budget Tour: Punta Cocos Bioluminescence Tour – Take a trip out to Punta Cocos by golf cart to see the incredible bioluminescence. You will have a professional guide and hotel pick up is included, this is the most affordable tour of its kind – and if you are tight on budget this is your tour! Read More Here
What to Pack for a Holbox Bioluminescence Tour
Red light – Packing a small headlamp like this with a red light feature is a great idea for a bioluminescence tour. Red light has a much lower effect on your eyes after they have already adjusted to the darkness of night.
This means the red light will hurt your eyes less and save your eyes from redialing after using the light. You may need light when walking on the beach or the path surrounding the beach. A red light is also helpful if you are taking photos to make adjustments to your camera settings.
Water shoes – A good, sturdy pair of water shoes like these is a good idea for a bioluminescence tour in Isla Holbox because it’s very dark, and you are walking in and out of the water and on uneven surfaces. Flip flops aren’t the best for these tours and you’ll save yourself some pain with water shoes instead.
How To Photograph Bioluminescence
If you are hoping to take a picture of the bioluminescence for your Instagram account, you might want to just leave your phone in your pocket and just enjoy the moment – photographing bioluminescence is very hard.
The amount of light produced by the bioluminescence is very faint. Capturing it on a phone will be next to impossible. Even with expensive photo equipment, it will take some skills to see the bioluminescence in your photos.
If you are serious about getting the shot, you will need a few things. You are going to need a camera that is capable of setting manual settings. The settings you want to focus on are shutter speed, ISO, and Aperture. Also, you need a tripod for this to work.
Aperture – First is the easiest setting, the Aperture, you want this set to the lowest number your camera/lens is capable. Common settings would be f/2.8 – the lower, the better. This “dilates” your lens much like your eyes at night. The more light gets into the camera, the better the chance of seeing the faint bioluminescence light.
Shutter Speed – You want to set the shutter speed to catch the bioluminescence as long as you can without making the rest of the photo blurry. If people are in the photo they are going to have trouble staying still longer than 2-4 seconds. You can go longer if no one is in the photo, but someone will have to disturb the water to get the bioluminescence to light up.
ISO – This is a number related to how much the camera amplifies the light the camera sees. The higher the number, the more you will see in the image. However, the downside of this is that an ISO setting that is too high will lead to a grainy, poor-quality photo. You will need to know how much ISO you can have on your particular camera before losing too much quality. DSLRs and Mirrorless cameras can usually take 3200-6400 ISO and still get decent quality. Less expensive cameras will be less.
It will take a few shots to get it right, trying out different settings. A good starting point would be f/2.8 or lowest, ISO 6400, and a Shutter speed of 4 seconds.
If the photo doesn’t turn out, don’t be too bummed. On our last tour, I brought my tripod and expensive camera and wasn’t able to fully capture what I was seeing with my eyes. If you aren’t a photo bug, I would leave the camera at home for a bioluminescence tour in Holbox.
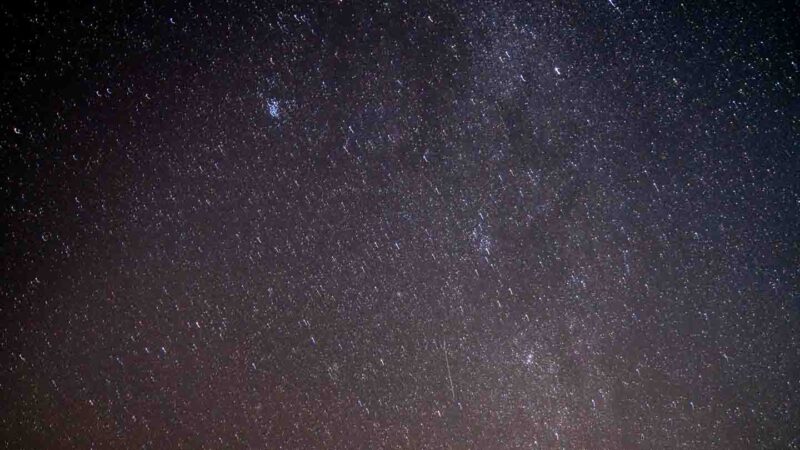
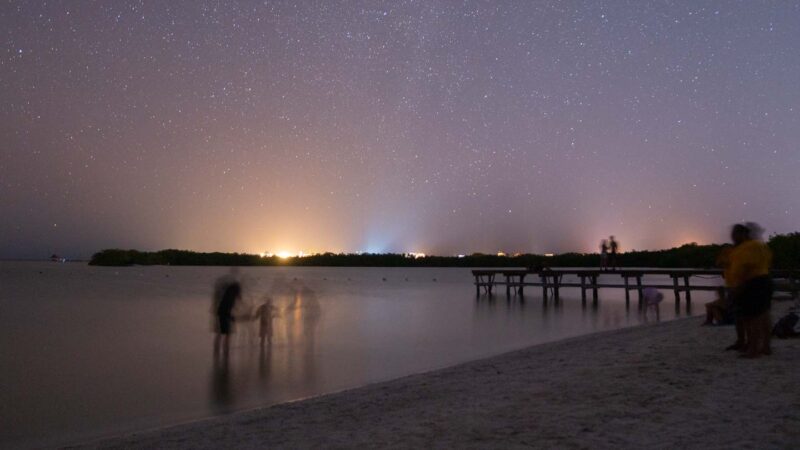
Stargazing During the Bioluminescence Holbox Tour
An added bonus of taking a Holbox bioluminescence tour is all of the stars! As cool as the bioluminescence is, the Holbox night sky full of stars was super impressive.
I can only recall a few times when I saw more stars than I did in Holbox. Most of those times were in remote parts of Africa, sleeping in a tent.
Holbox Mexico is a pretty remote place, and besides the town, there isn’t much light pollution, which makes it the perfect place for stargazing.